Use the Edit tab in an event's Command Center to change the event's status or update its details after it has been created.
In the left menu, select Events.
Select the ⋯ menu at the end of your event's row, then select Open Command Center.
Select the Edit tab.
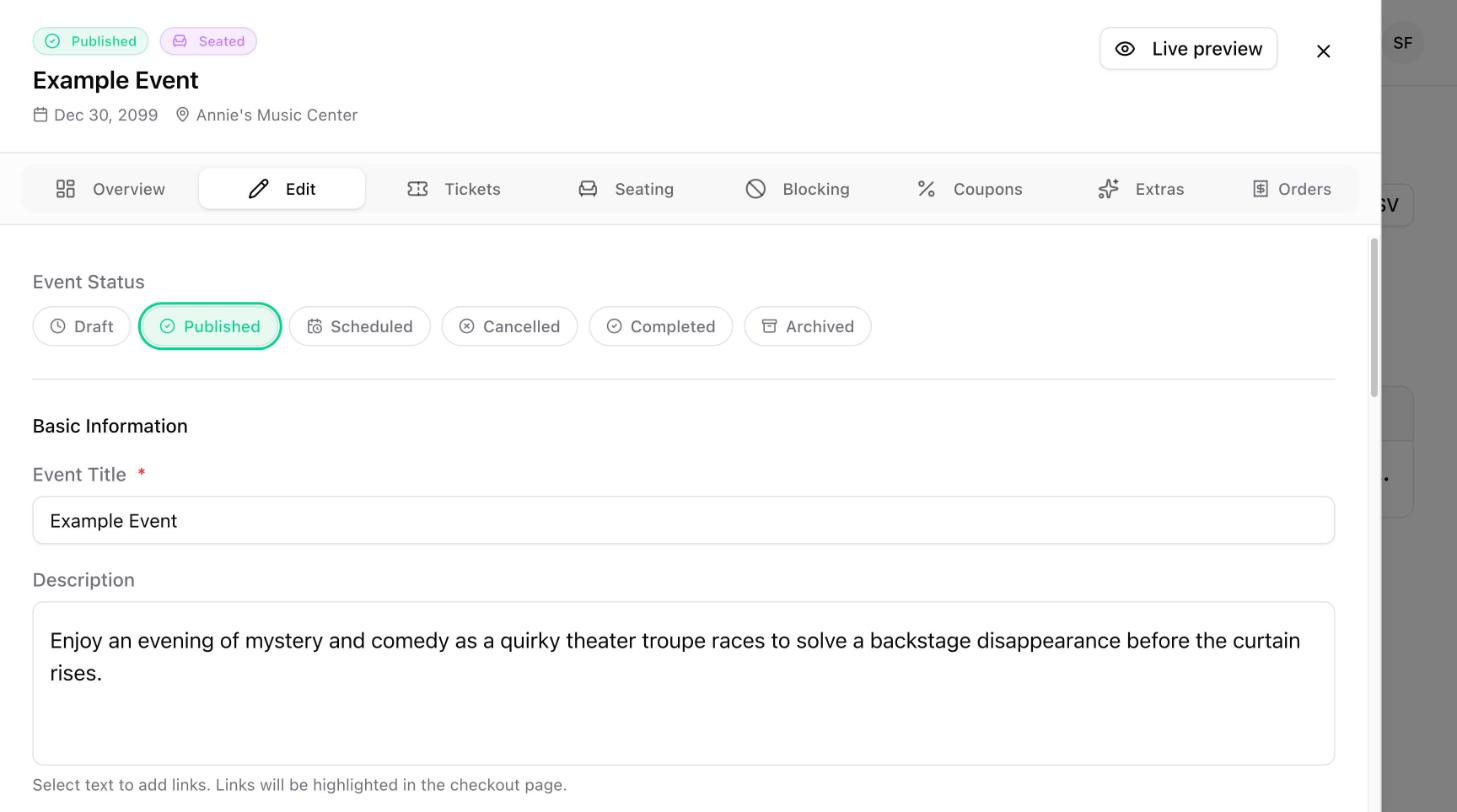
The Event Status row at the top of the Edit tab shows every status an event can have. The current status is highlighted. Select a different status to change it.
Status | When to use it |
|---|---|
Draft | The event is still being set up and is not ready for buyers. |
Published | The event is live and tickets are on sale. |
Scheduled | The event is set up and waiting to go on sale. |
Cancelled | The event is not going ahead. |
Completed | The event has taken place. |
Archived | The event is finished and you want it out of the way. |
The status also appears as a badge next to the event in your events list and at the top of the Command Center.
Scroll down the Edit tab to update the rest of the event.
Field | What to enter |
|---|---|
Event Title | The name buyers see. This field is required. |
Description | A summary of the event. Select any text in the description to turn it into a link. |
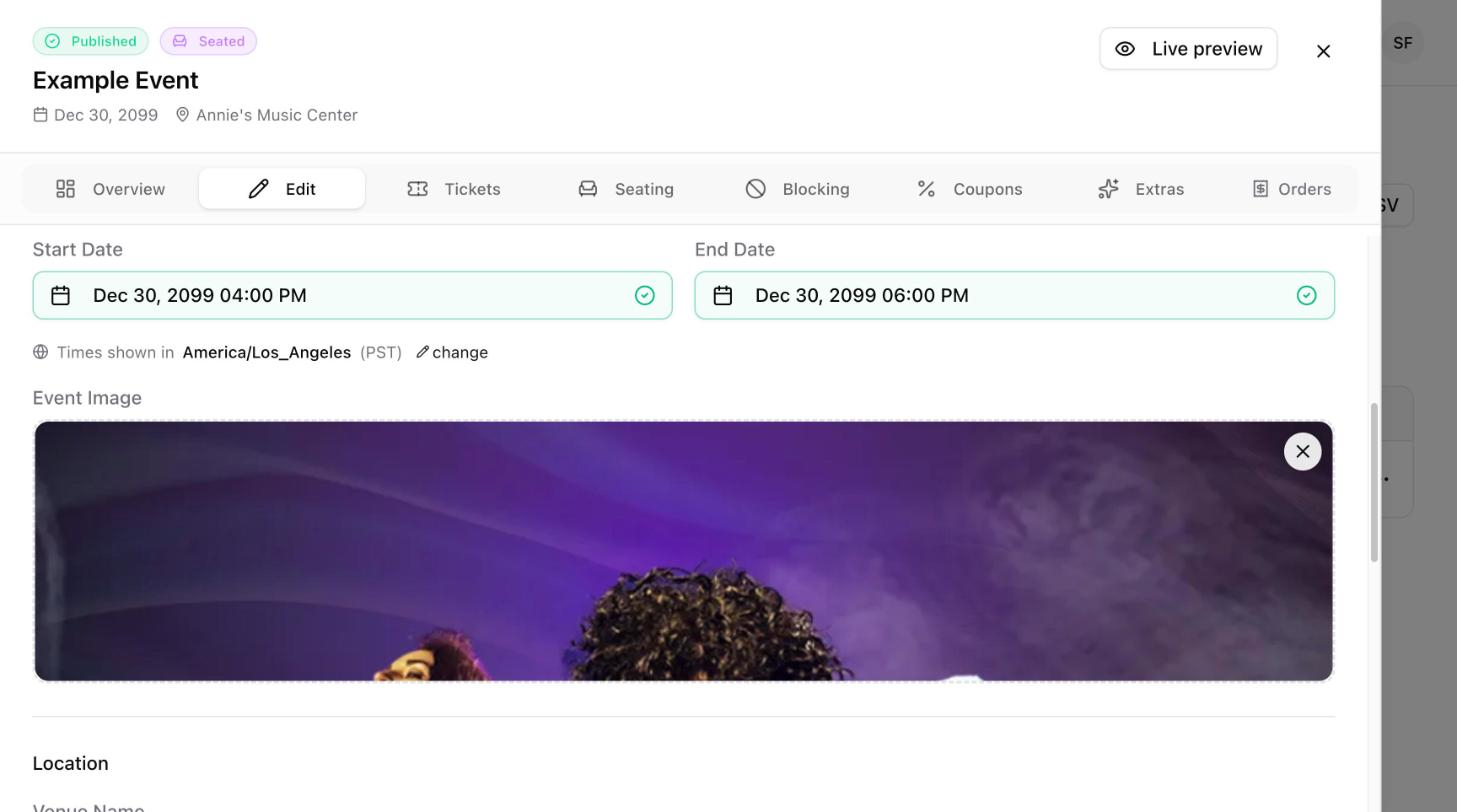
Start Date and End Date | When the event begins and ends. Select change under the dates to show times in a different timezone. |
Event Image | The image shown on your event page. Select the X on the current image to remove it and upload a new one. |
Venue Name | The name of the venue. |
Venue Address | Start typing and choose the matching address from the search results. |
Scroll to the bottom of the Edit tab and select Save Changes. Select Cancel to discard your edits.

