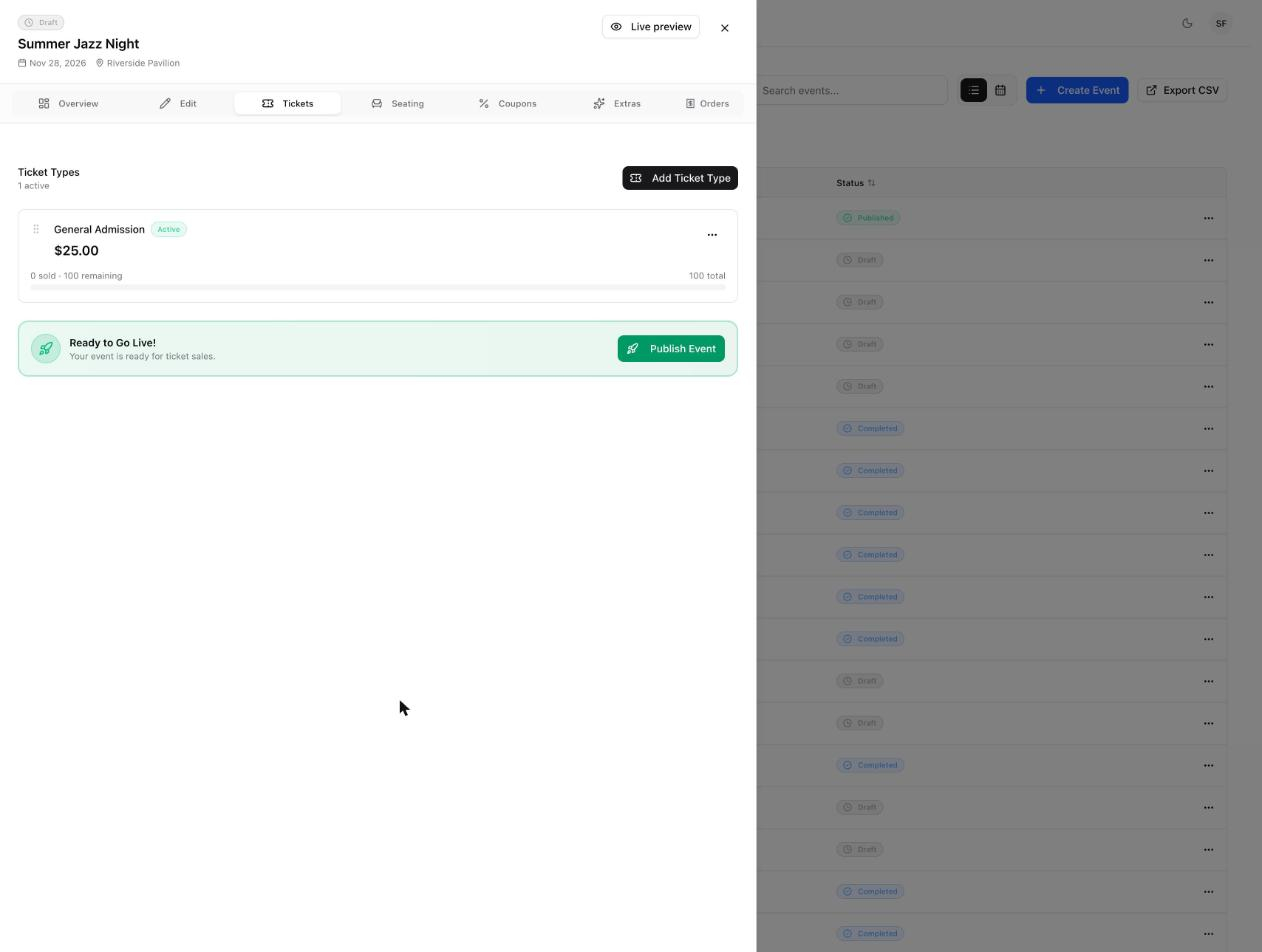
Creating an event takes one short form. Your new event is saved as a draft, so buyers can't see it until you add tickets and publish it.
In the left menu, select Events.
Select Create Event in the top right. The Create New Event form opens.
Fill in the details.
Field | What to enter |
|---|---|
Event Title | The name buyers see. This is the only required field. |
Description | A summary of the event. Select any text to turn it into a link. |
Start Date and End Date | When the event begins and ends. |
Event Image | The image shown on your event page. Drop a PNG, JPG, or GIF of up to 10MB onto the box, or select the box to browse for a file. |
Venue Name | The name of the venue. |
Venue Address | Start typing and choose the matching address from the search results. |
Highlights | Optional cards that call out key features on the checkout page. |
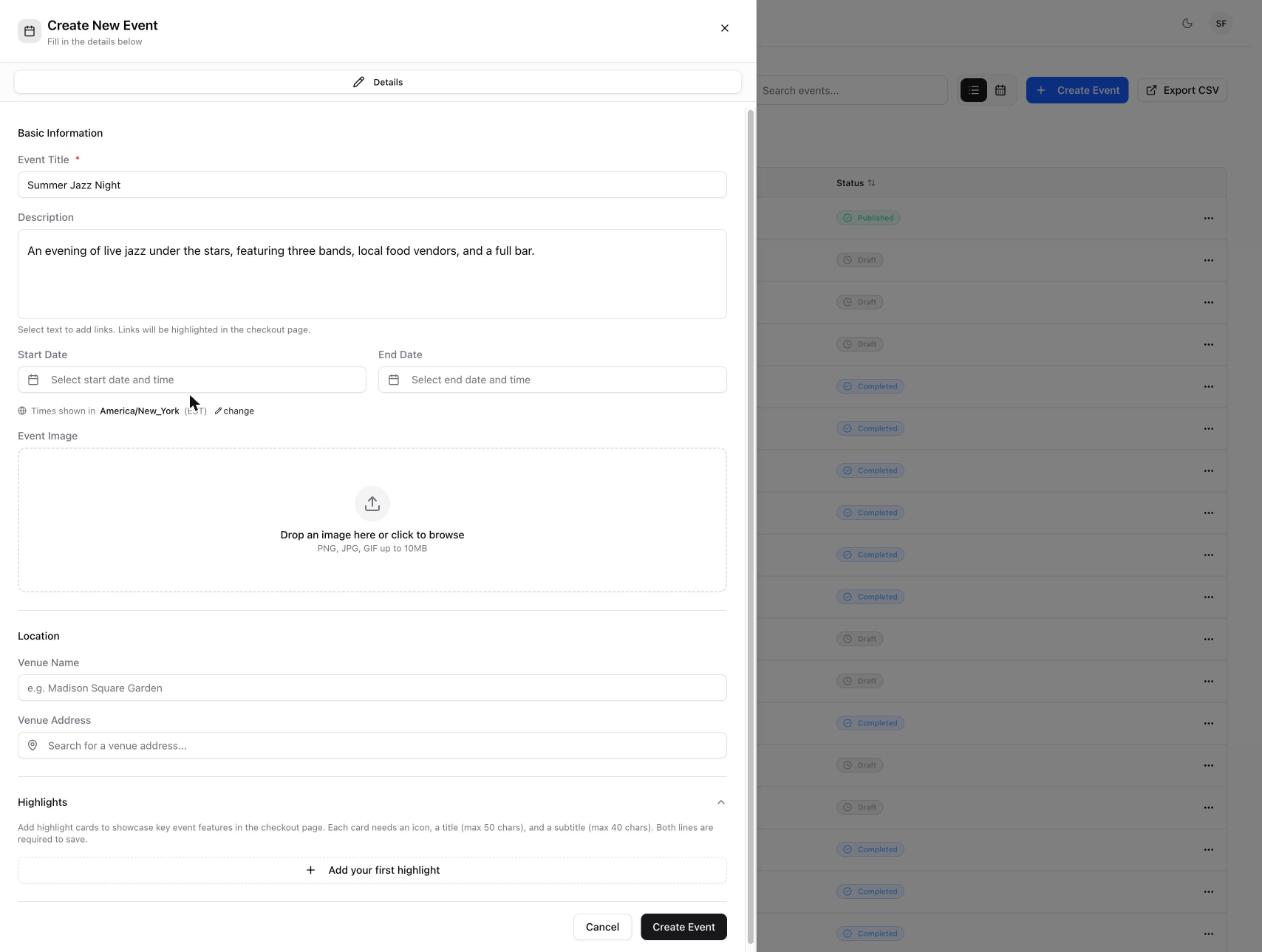
Select Create Event at the bottom of the form.
Select Start Date. A calendar opens.
Choose the day, then set the start time under the calendar.
Check the End Date. It is filled in for you when you choose a start date. Select it to change it.
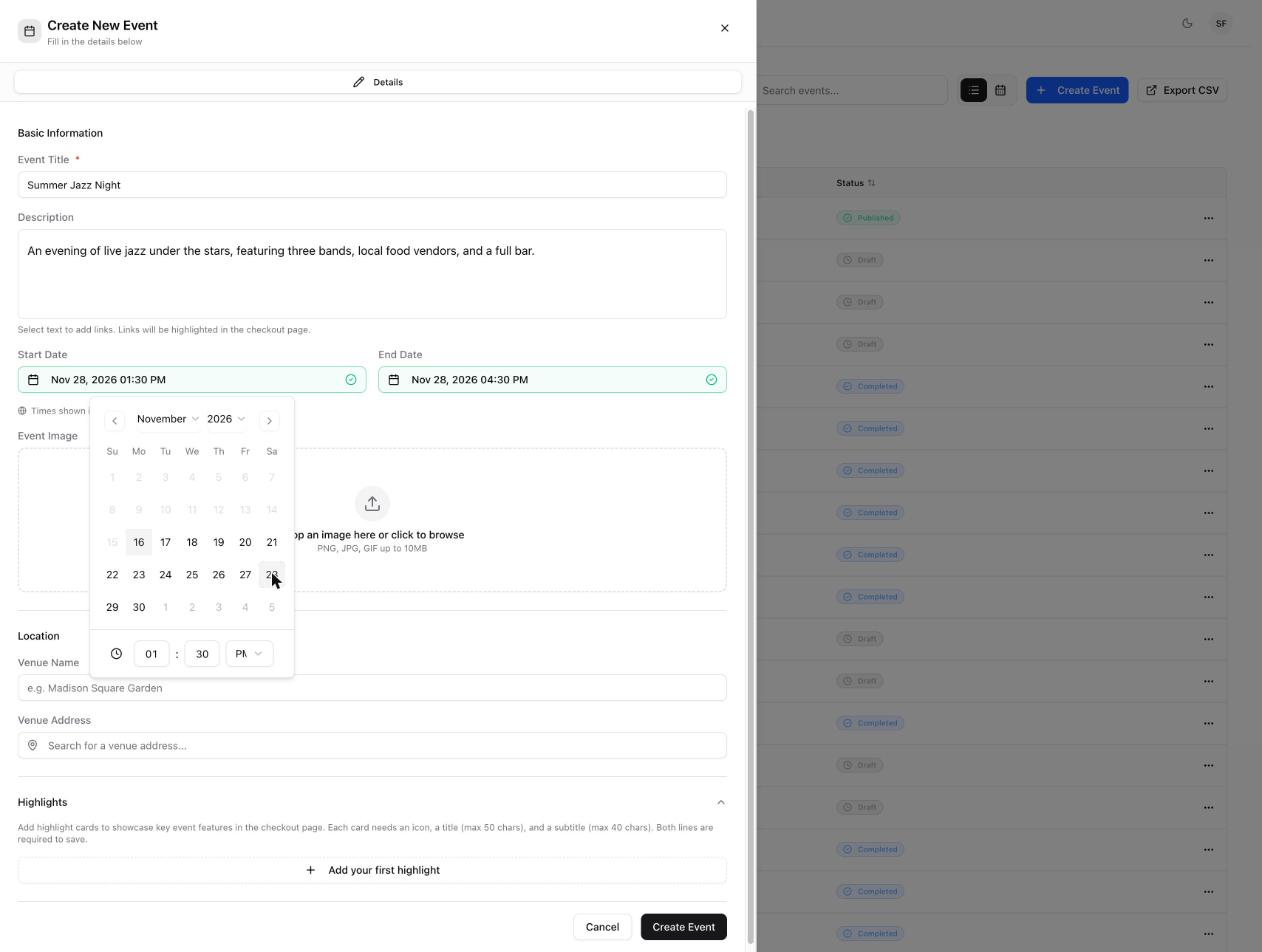
Times are shown in the timezone named under the dates. Select change to use a different timezone.
Your event is saved with a Draft status and its Command Center opens straight away. From here you finish setting it up.
To do this | Go to |
|---|---|
Add general admission tickets | The Tickets tab, then Add Ticket Type. |
Sell reserved seats | The Seating tab, then choose a seatmap under Select Seatmap. |
Check how the page looks to buyers | Live preview in the top right. |
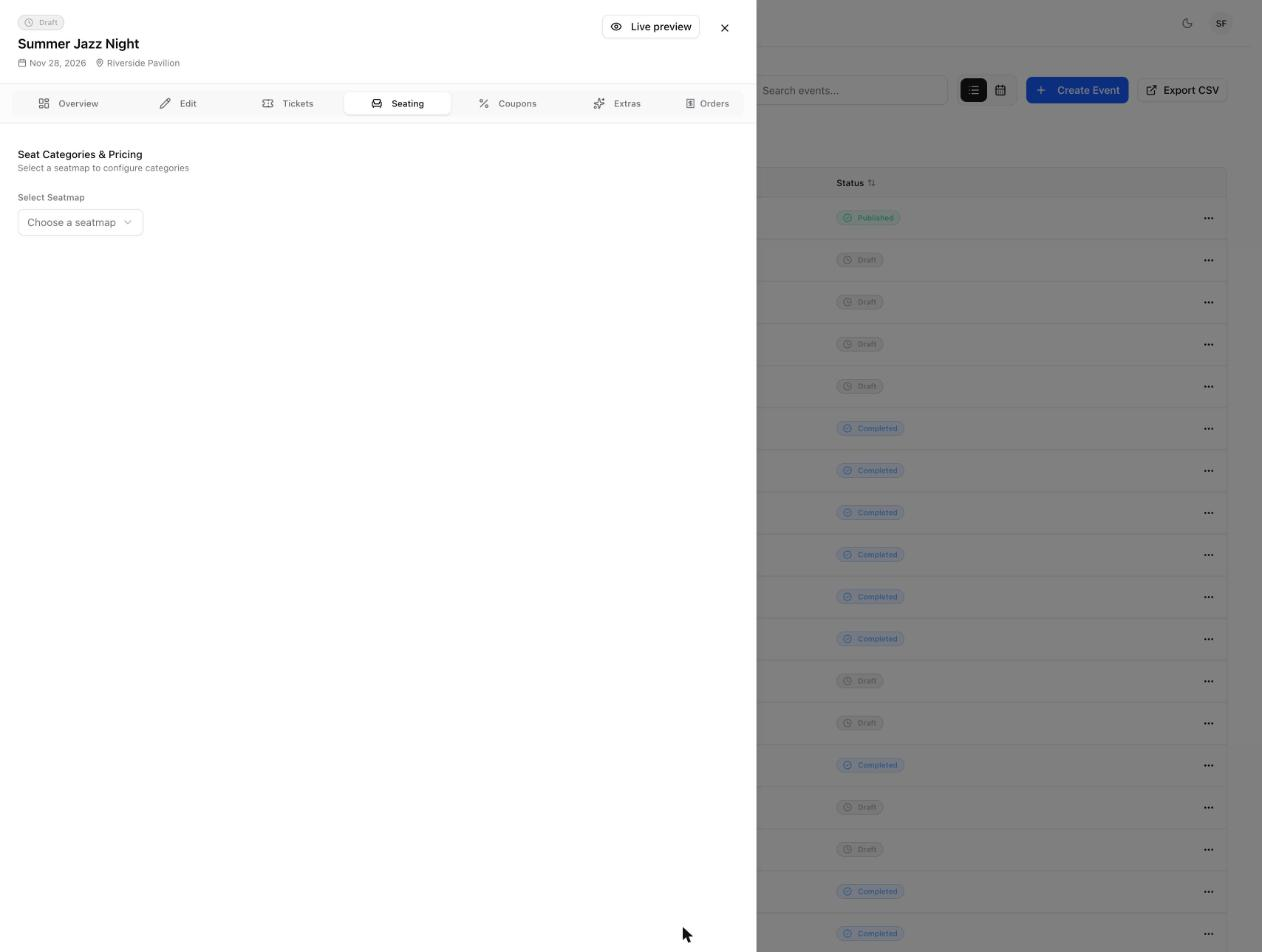
While the event is being set up, an Event Setup Progress checklist on the Tickets tab shows which steps are done and which are left.
When the event has what it needs to go on sale, a Ready to Go Live! message appears on the Tickets tab.
Select Live preview and check the page one last time.
Select Publish Event.