A tracking link is a unique link to your event page. Use a different link for each place you promote the event, such as an Instagram bio, a Facebook ad, or a radio spot, and SeatFun shows you how many views and sales each one brings in.
In the left menu, select Marketing.
Choose your event from the menu at the top of the page.
On the Tracking Links tab, select Create Link.
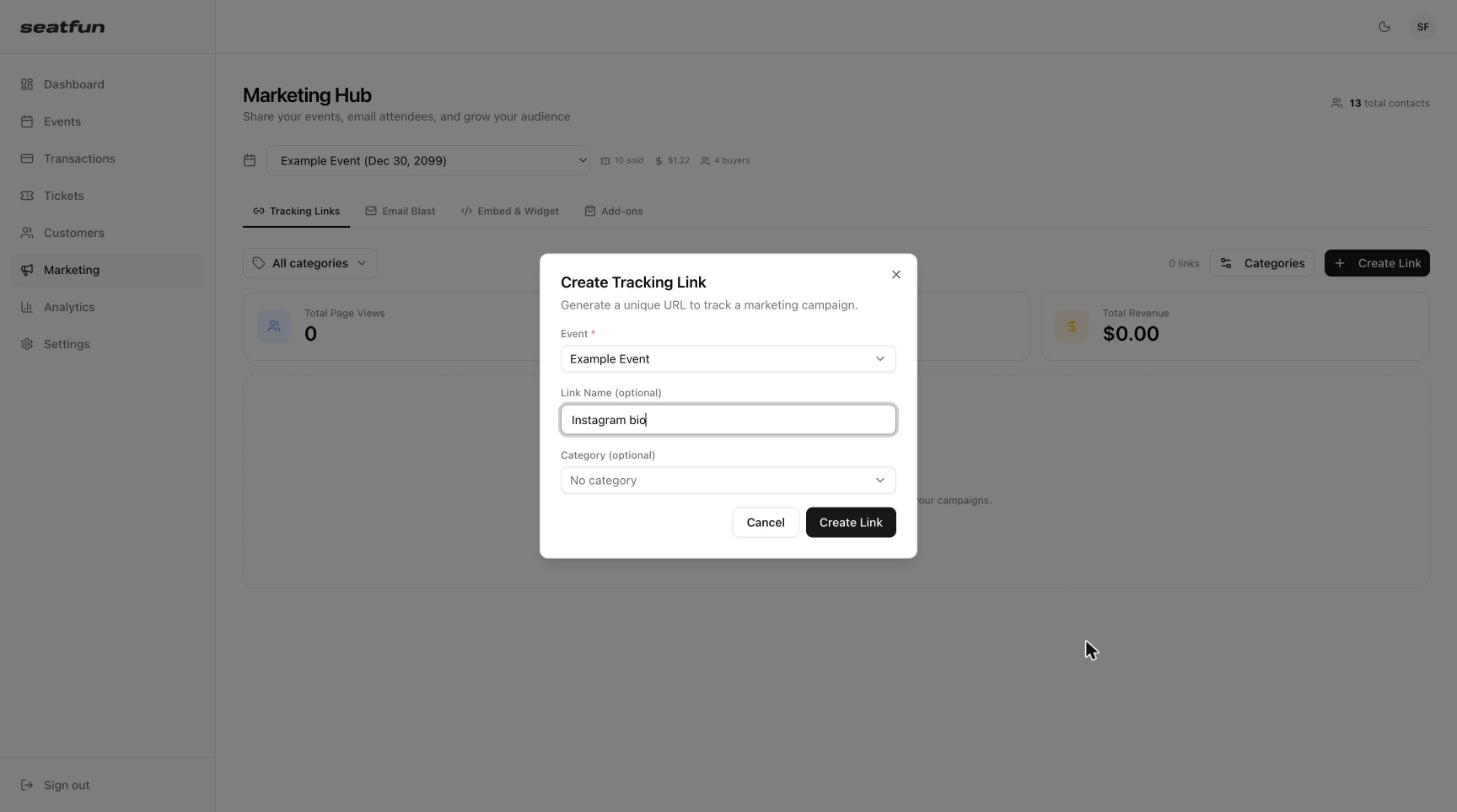
Fill in the form.
Field | What to enter |
|---|---|
Event | The event the link points to. Required. |
Link Name | Optional. A name that tells you where the link is used, for example |
Category | Optional. A group for the link, such as Facebook, Instagram, or Radio. |
Select Create Link.
Your new link appears as a card on the Tracking Links tab.
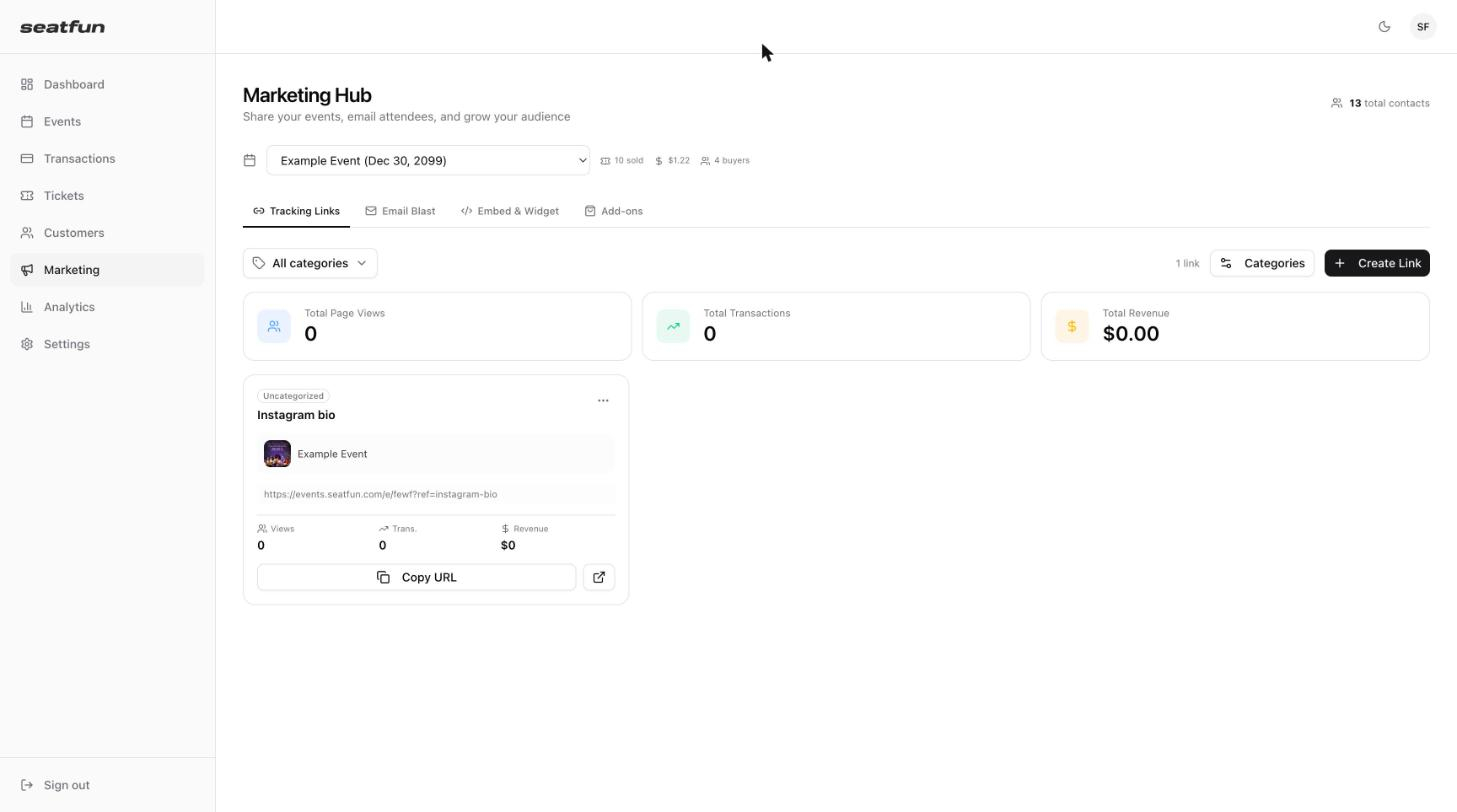
Select Copy URL to copy the link, then paste it wherever you are promoting the event.
Select the open icon next to Copy URL to open the link in a new tab.
Select the ⋯ menu on the card and choose Generate QR Code to get a QR code for printed materials such as posters and flyers.

Each card shows three numbers for its link.
Number | What it shows |
|---|---|
Views | How many times the event page was opened through this link. |
Trans. | How many orders were placed by buyers who came through this link. |
Revenue | How much those orders were worth. |
The totals at the top of the tab add up Total Page Views, Total Transactions, and Total Revenue across the links shown.
Categories group your links by channel so you can compare, for example, all of your Facebook links against all of your Instagram links.
Create categories: Select Categories, type a name under New category, and select Add. Categories can be reused across all of your events.
Assign a category: Select the ⋯ menu on a link's card and choose a category.
Filter by category: Use the All categories menu to show one category at a time.
When a campaign is over, select the ⋯ menu on the link's card and choose Archive.
